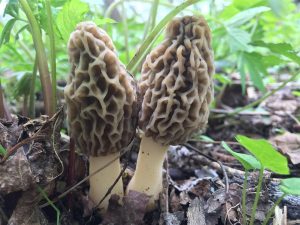
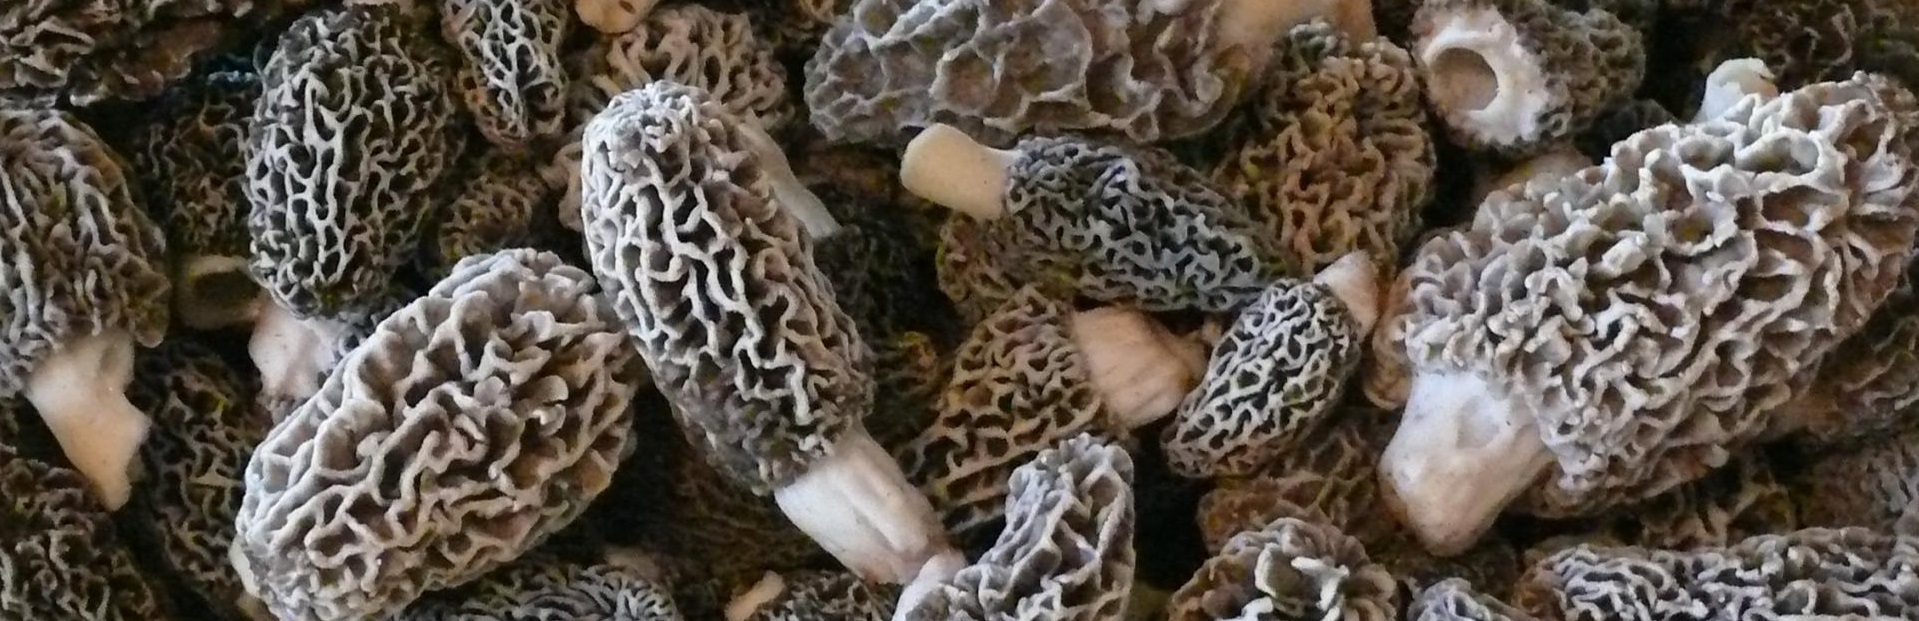
Preserving the morel mushroom is wonderful problem to have, however, preserving morels successfully is the key. The Great Morel is about to let you know just how easy it is to preserve morel mushrooms successfully and to enjoy your prize find long after the season has ended. From dehydrating morels, to freezing morels, to good old fashioned drying morels naturally – you will find the processes of each of these techniques explained in detail.

Here is a little known fact – the morel – if handled correctly after harvesting is a durable fungi just waiting to be stashed away for later consumption. When done properly, the texture and flavor can be maintained as if they were freshly picked. To quote the lyrics from a Phish song called The Lizards, you are like “Rutherford the Brave and he was on a quest to save his people from the fate that lay before them”. Think of it as if you are on a quest to save the great morel from the fate that lay before them…until a later date that is.
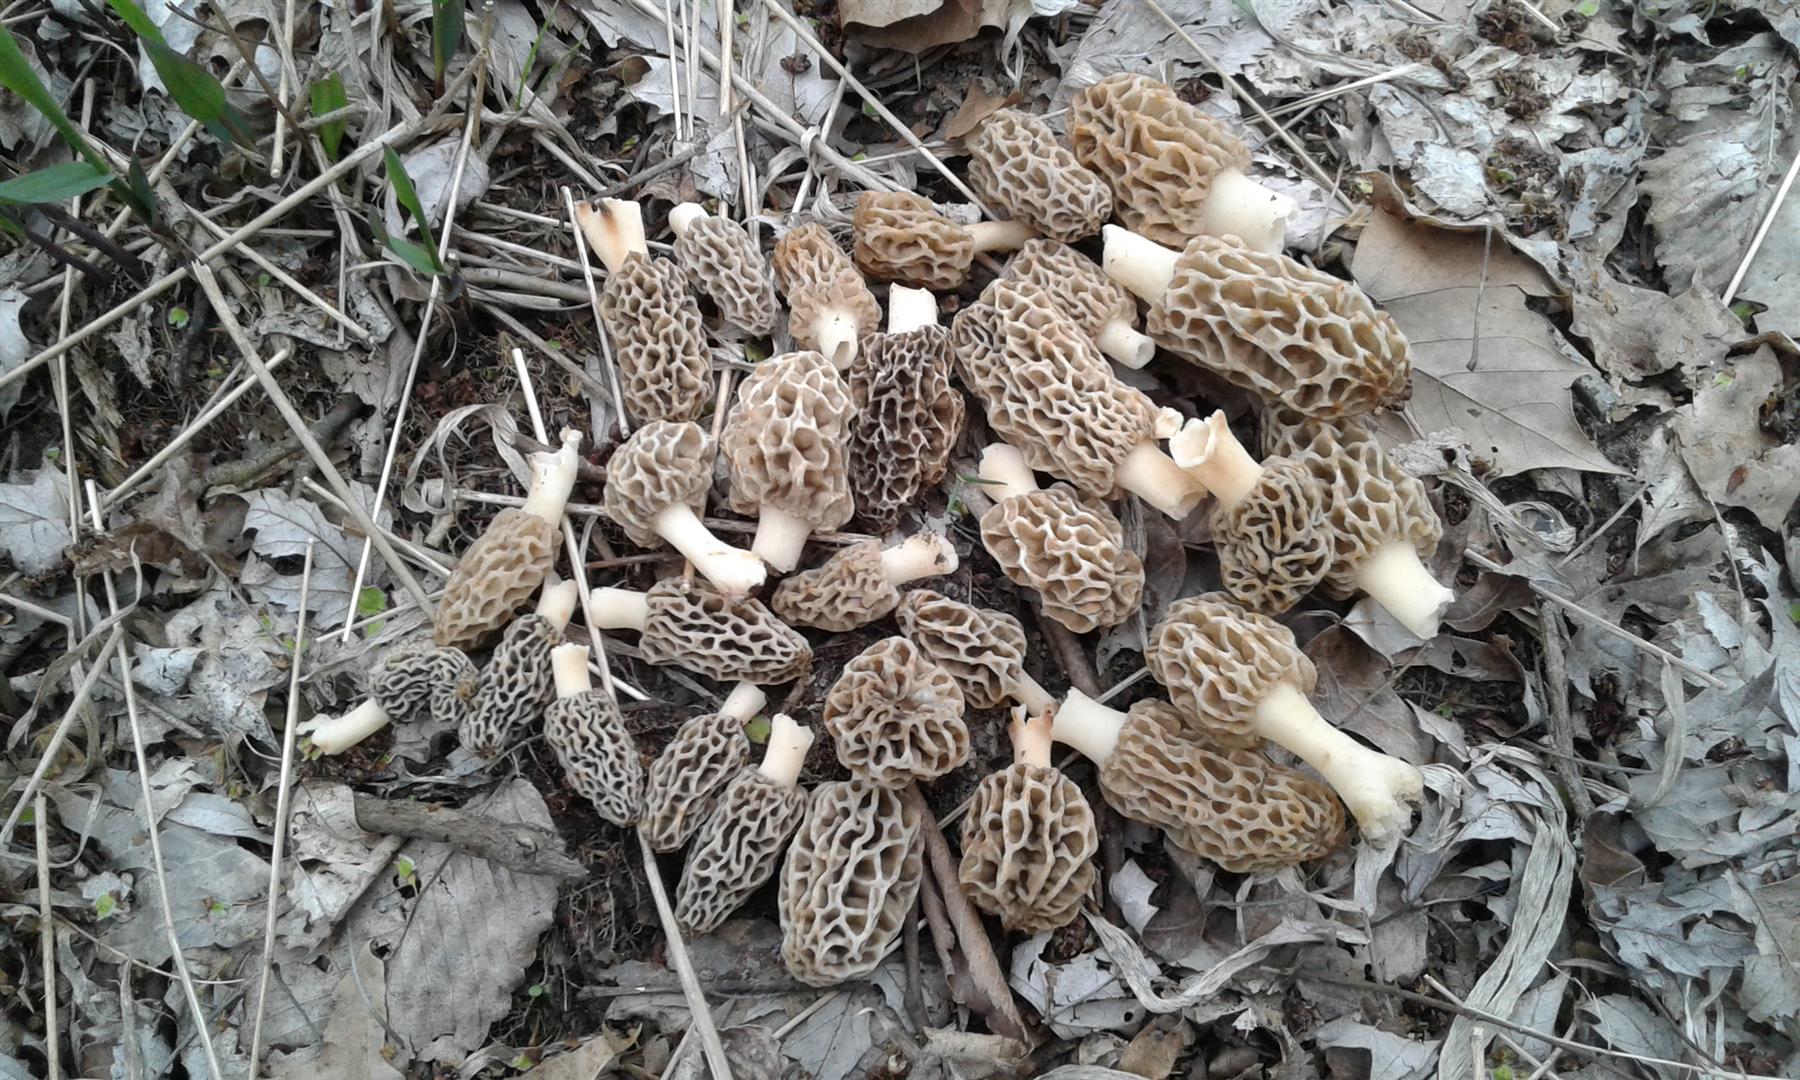
Let’s start off with what may be the simplest and most well-known technique – drying. Drying morels can be done in several ways and we’ll talk briefly about each and highlight the pros and cons as we go through them. The three most common ways of drying each have various techniques as well – all of which we’ll discuss in detail. As we go through these techniques keep in mind – salt is the enemy of preserving the morel! Always avoid the salt no matter which technique you choose.
Air Dried Naturally
When we talk about drying morels, the primary object is to let the morel dry naturally from its harvested state. Depending on the air drying method, you may or may not want to slice your morels, but do make sure you clean the stem of any dirt, and shake out any bugs taking refuge. In other words – if you rinse – do not soak. Just rinse, de-bug and pat dry to remove as much moisture as possible.
Oven and Other Drying
Other ideas are laying your morels on a screen, a table, or similar contraption. Using an oven is an option as well, but extreme care should be taken if oven drying your morels indoors. The goal here is to allow the morel to dry as naturally as possible, so whatever option you use just insure they are drying and you monitor the humidity levels. If you attempt the screen drying method, remember to allow good air flow throughout the entire drying process. So if you lay your screen frame on a table, make sure you have the morels raised off the table. Use a bricks or wood to raise your drying frames off the table to allow airflow.
You can also search online for solar food drying methods and plans if you would like to build something a bit fancier. These can also double for drying vegetables and nuts.
Let’s get a little more in-depth about the oven drying process – a relatively simple technique. When attempting to dry your morels using an oven, set the temperature at around 120-140 degrees and lay your morels out evenly on cookie sheets or on the oven racks so they are not touching. You can load your oven up with multiple trays or racks, just make sure you allow room for air movement and rotate them throughout the process every hour or two.…the object here is a process of slow removal of moisture.
One additional tip – if you have a convection oven, use the convection oven setting as it moves the warm air around and may significantly reduce the drying time.
If you opt to try using the natural solar method, you really need to make sure you have a good couple days of warm sun in the forecast to allow your morels to bask in the warmth of the sun. You can lay them on screens or homemade drying racks. Spacing is key again, allow both air flow and the warm sun to assist in the drying process. Below are a couple reference and starting points for anyone interested in the benefits and/or plans to make a solar dehydrator.
- The University of Georgia Cooperative Extension Service has a good PDF on drying food.
- The Self Sufficient Living has 8 design plans on solar drying.
Tip: cover or move inside at night to avoid the dew. Give your morels a good couple days in the sun and that should do it.

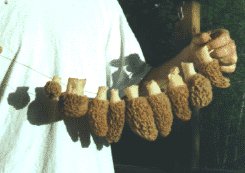
As Dave in Iowa wrote in back in 2003, “One of the 23,000,000 experts on the subject told us to lay out some Window screens (we used hardware cloth stretched between two 2×4’s) on the deck. Spread the mushrooms out whole and uncleaned in the direct sunlight for the day, or until dry…Worked Great! They were completely dry in about 6-7 hrs. It was a sunny, 74 degree day with a light breeze. We were told to store them in a paper sack.”
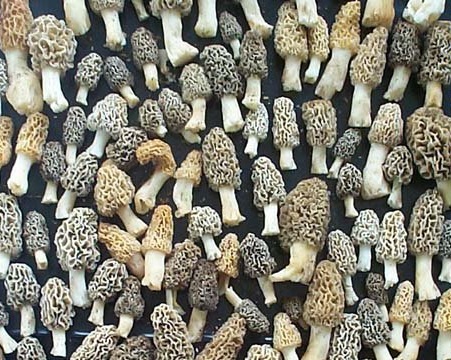
Dehydrating
Dehydrating morels is another technique and very common method for those who have a dehydrating machine. Begin the dehydrating process similar to the air dry process – clean your morels of dirt and bugs, pat dry if you have rinsed, and get your dehydrator ready. The only exception is you may choose slice your morels and that is nothing more than a personal preference. The Great Morel suggests a temperature setting of about 125F on your dehydrating machine. Just leave them in there about five to 8 hours and remember to rotate the trays every couple hours. Much of the timing depends on the size of your morels, the meatier the morel, the longer it will take.
A note from a Seasoned Morel Hunter on the Preserving page on using dehydrators …” Dehydrators will produce either good or disastrous results. If it’s a commercial quality dehydrator, results will be excellent. The cheap plastic things with light bulbs will produce too much humidity and ruin the morels.”
As with all of the morel drying techniques mentioned above, your morels should get a bit crispy or not quite a crunchy hardness when done. Crunchy hard as in moisture free, so if they are not brittle to the touch just leave them and keep checking until they are.
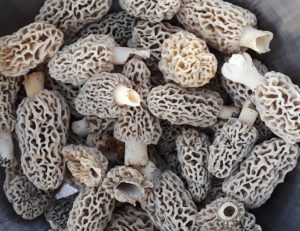
Packaging and Storage of Dried Morels
Once “Operation Drying” is complete, there is one final and critical step of storing your morels. The packaging – which is as critical as the air drying processes we covered thus far. It is crucial your morels are moisture free. Yes, that has been mentioned several times already, but it is so important and will make a difference in good morels or bad morels when you are ready to re-hydrate them. As stated earlier, just know your morels will shrink into nothing and yes, they will turn hard and should be almost crunchy. That is the end expectation – dry, hard, moisture free, shrunken morels.
…seal them in an airtight container and throw them in a dry storage area
There are several common means of packaging your dried morels Seal them in an airtight container and throw them in a dry storage area. If you have a commercial vacuum sealer then bust it out and do your thing. Some other suggestions are to put in Mason jars and just make sure you check the jar the next day to make sure there is not any moisture on the inside of the jar. If so, it is time for a “do-over”. Any moisture in your packaging/containers will be your enemy, causing the risk of mold and/or bacteria, and a wasted batch of morels. Paper sacks are another common option.
They will keep for a long time as long as you remember one key thing – keep them dry! The key to longevity in storage is simply this – dry, dry, dry, dry…did The Great Morel say dry?
Some shroomers suggest storing in a dark place and even putting your dried morels in the freezer.
The Con to the Drying Process
The con to the drying method is if you do not keep them dry in storage then you just wasted morels, and that may be looked upon as crime in some Shroomer’s eyes. If not a crime…it will be a reason to cry.
In closing out the drying process, there are many Shroomer’s who believe the drying process (regardless of technique) allows the morel to hold true to its texture and flavor when it comes time to use them. So when done correctly you won’t be disappointed with the end results.
Here are some words of wisdom provided by The Colorado State University Extension Services on drying can be found here at their website. Granted they discuss drying of vegetables but the process is much the same and they have some good precautionary tips. Here is another good link for those using a dehydrating machine – The Dehydrator Spot‘s web page. There is another quick read written by Eugenia Bone – Morel Preservation – Eugenia was featured in the hugely popular documentary ‘Fantastic Fungi’ and really is an expert on the subject.
Freeze Drying Morels
Freeze drying the morel mushroom is another variation of a preserving technique. The Great Morel will discuss various suggestions of freezing the morel in its natural state, from pre-breading, to freezing in water. We’ll touch on a few of these techniques in detail and for other freeze-dried ideas head on over the Preserving page and check some of them out.
…I cook them from a frozen state. When I prepare them the texture is about as good as you get from fresh morels…
The packaging is key – make a solid attempt to remove as much air as possible in your packaging technique. Any sort of freezer bags will do. Just know the risk of freezer burn is highly probable if the packaging is not done correctly. If you have a vacuum sealer, then definitely use it and suck your bags. Yeah, we get it…that sounded bad, but you get the point. If you do not have a vacuum sealer, you can do the stupid looking technique of sucking all the excess air out with your mouth. Sounds somewhat disgusting right? The emphasis here is the importance of removing as much air as possible to help minimize the risk of freezer burn.
You can also use the cookie sheet method as above without breading – simply half or quarter your morels, freeze and package as mentioned above. While The Great Morel isn’t stating this as fact, but one of the subtle comments about using the freeze technique is the morel will often loose a bit of their firmness. Most will say it’s not quite like thawing frozen strawberries, but you get the point. Other Shroomers will say they maintain their texture and meatiness using this technique more than the other preserving techniques.
Preparing Your Morels
Depending on your preserving technique, you will need to have an idea of what to do when you are ready to cook them. Here is the down and dirty and it is easy – the following tips and suggestions come to you from our longtime friends at MorelMaster.com
Dried –
• To reconstitute place in cool water for 3 hours or overnight. 2 Cups per oz. Great in soups, sauces, stews, or sautéed.
Frozen –
• When ready to use take them out of the bag and run warm water on them until half thawed. Once half thawed cut them in half and rinse. Immediately begin preparation.
• If you pre-breaded your frozen morels, allow to thaw to room temperature and skip the water.
• The “Hoagie Technique” mentioned above – cook them frozen.
There you have it…Preserving 101
You’ve just successfully completed The Great Morel’s Preserving 101 – some of the more common techniques for preserving your morels. Keep in mind there are other techniques morel hunters use and you can read these on the Preserving page. For those of you who may have a tried and proven technique, or additional tips, please make sure to drop us an email and The Great Morel will add them to the preserving page.
Happy and Successful Preserving!
Additional Links